

Valves are an essential component in various mechanical systems, used to control the flow of fluids or gases. Correctly installing valves is crucial to ensure their proper functioning and prevent any potential issues. In this article, we will discuss the correct installation method of valves, important considerations during valve installation, and signs that indicate it's time to replace valves.
Valve Installation Method:
- Ensure the valve is the correct size and type for the application.
- Clean the valve and surrounding area to remove any dirt or debris that could interfere with its operation.
- Place the valve in the correct position according to the flow direction indicated on the valve body.
- Use proper tools and equipment to tighten the valve securely in place, following the manufacturer's guidelines.
- Check for leaks by conducting a pressure test before putting the system into operation.
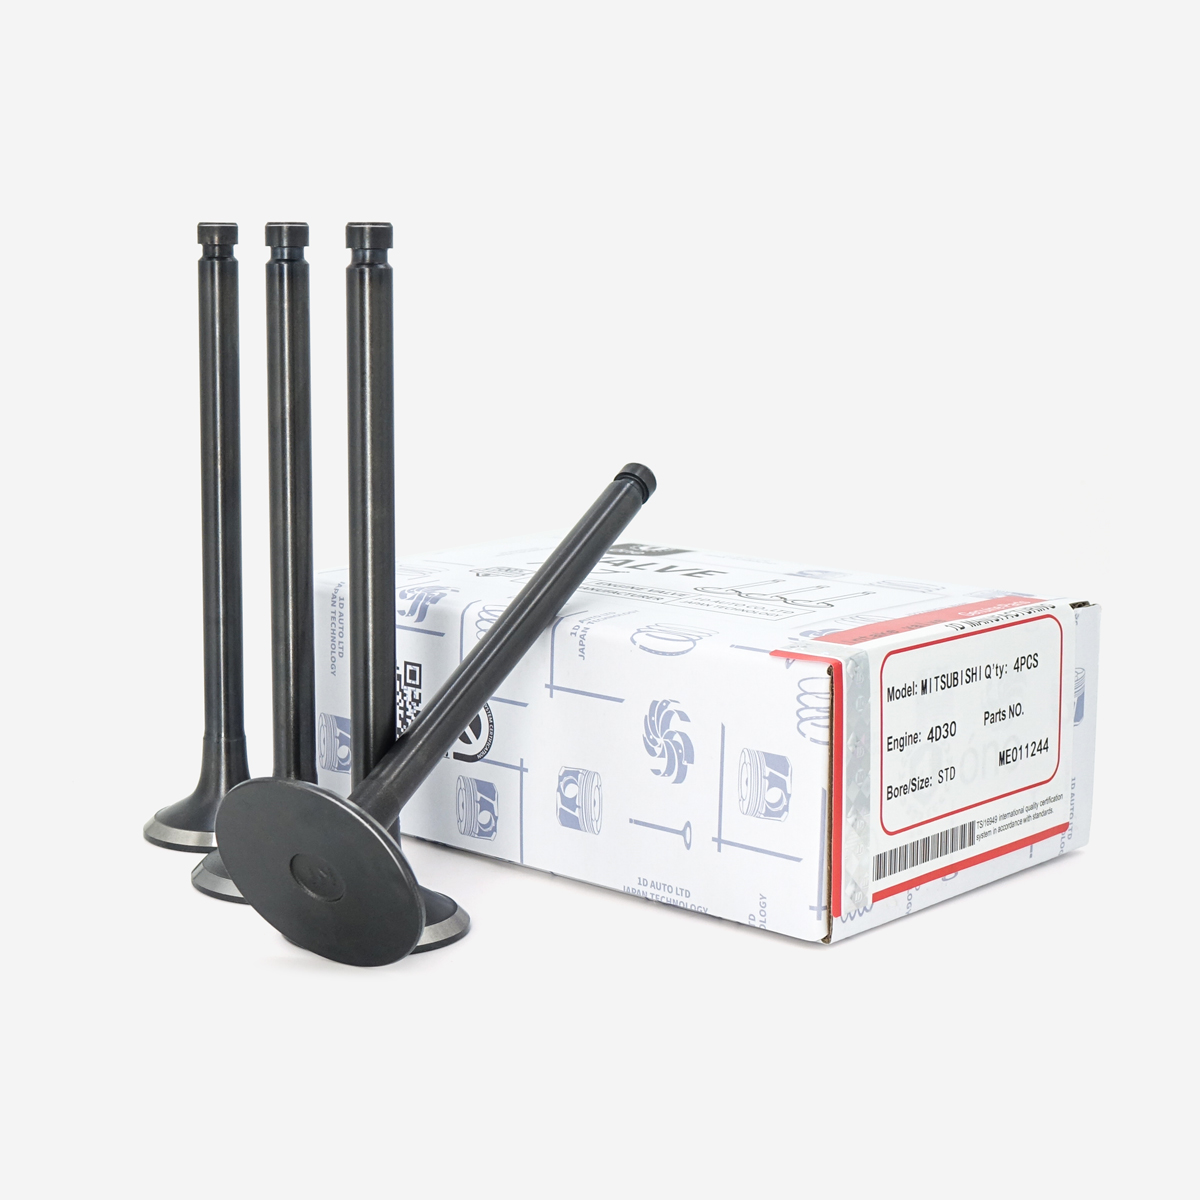
Important Considerations during Valve Installation:
- Ensure the valve is compatible with the system's operating conditions, including pressure, temperature, and the type of fluid or gas being controlled.
- Verify that the valve is installed in the correct orientation to ensure optimal performance.
- Use appropriate sealing materials to prevent leaks and ensure a tight seal between the valve and connecting pipes.
- Follow all safety protocols and regulations when installing valves to prevent accidents or injuries.

Signs that Indicate Valve Replacement:
- Leakage: If a valve is leaking fluid or gas, it may be a sign that the valve is damaged or worn out and needs to be replaced.
- Reduced Performance: A valve that is not functioning properly may lead to decreased system efficiency or performance, indicating the need for replacement.
- Corrosion or Damage: Visible signs of corrosion, erosion, or physical damage on the valve body are indications that it needs to be replaced to prevent further issues.
- Excessive Wear: Valves that show signs of excessive wear, such as loose components or difficulty in operation, should be replaced to maintain system functionality.
Contact us to learn more
Whatsapp : +86 18144837660
Wed : www.1dauto.com www.1doem.com